Create a Relay Server
On this page
A Relay Server brings your Shared Folders and collaborators together.
When you sign up, Relay automatically creates a starter Relay Server for you using your first name. Your starter server is hosted by Relay. You can use that one, or create a new one.
Choose where to host Relay
Relay is built to be self-hosted. Run it on your own infrastructure, or use Relay’s cloud hosting. See Choose how to host Relay for setup and hosting options.
Find your starter server
Use Obsidian with Relay installed and enabled, and sign in to your Relay account.
- Open Relay settings.
- Under Relay Servers, find the server named with your first name, such as Arlo’s Relay Server, and open its settings.
- Optional: To rename the server, change Name. Relay saves the change automatically.
You can share folders on this server without creating another one.
Optional: Create another server
Create another server if you want a separate set of folders and collaborators. For example, you might use one server for a work team and another for sharing notes with your family.
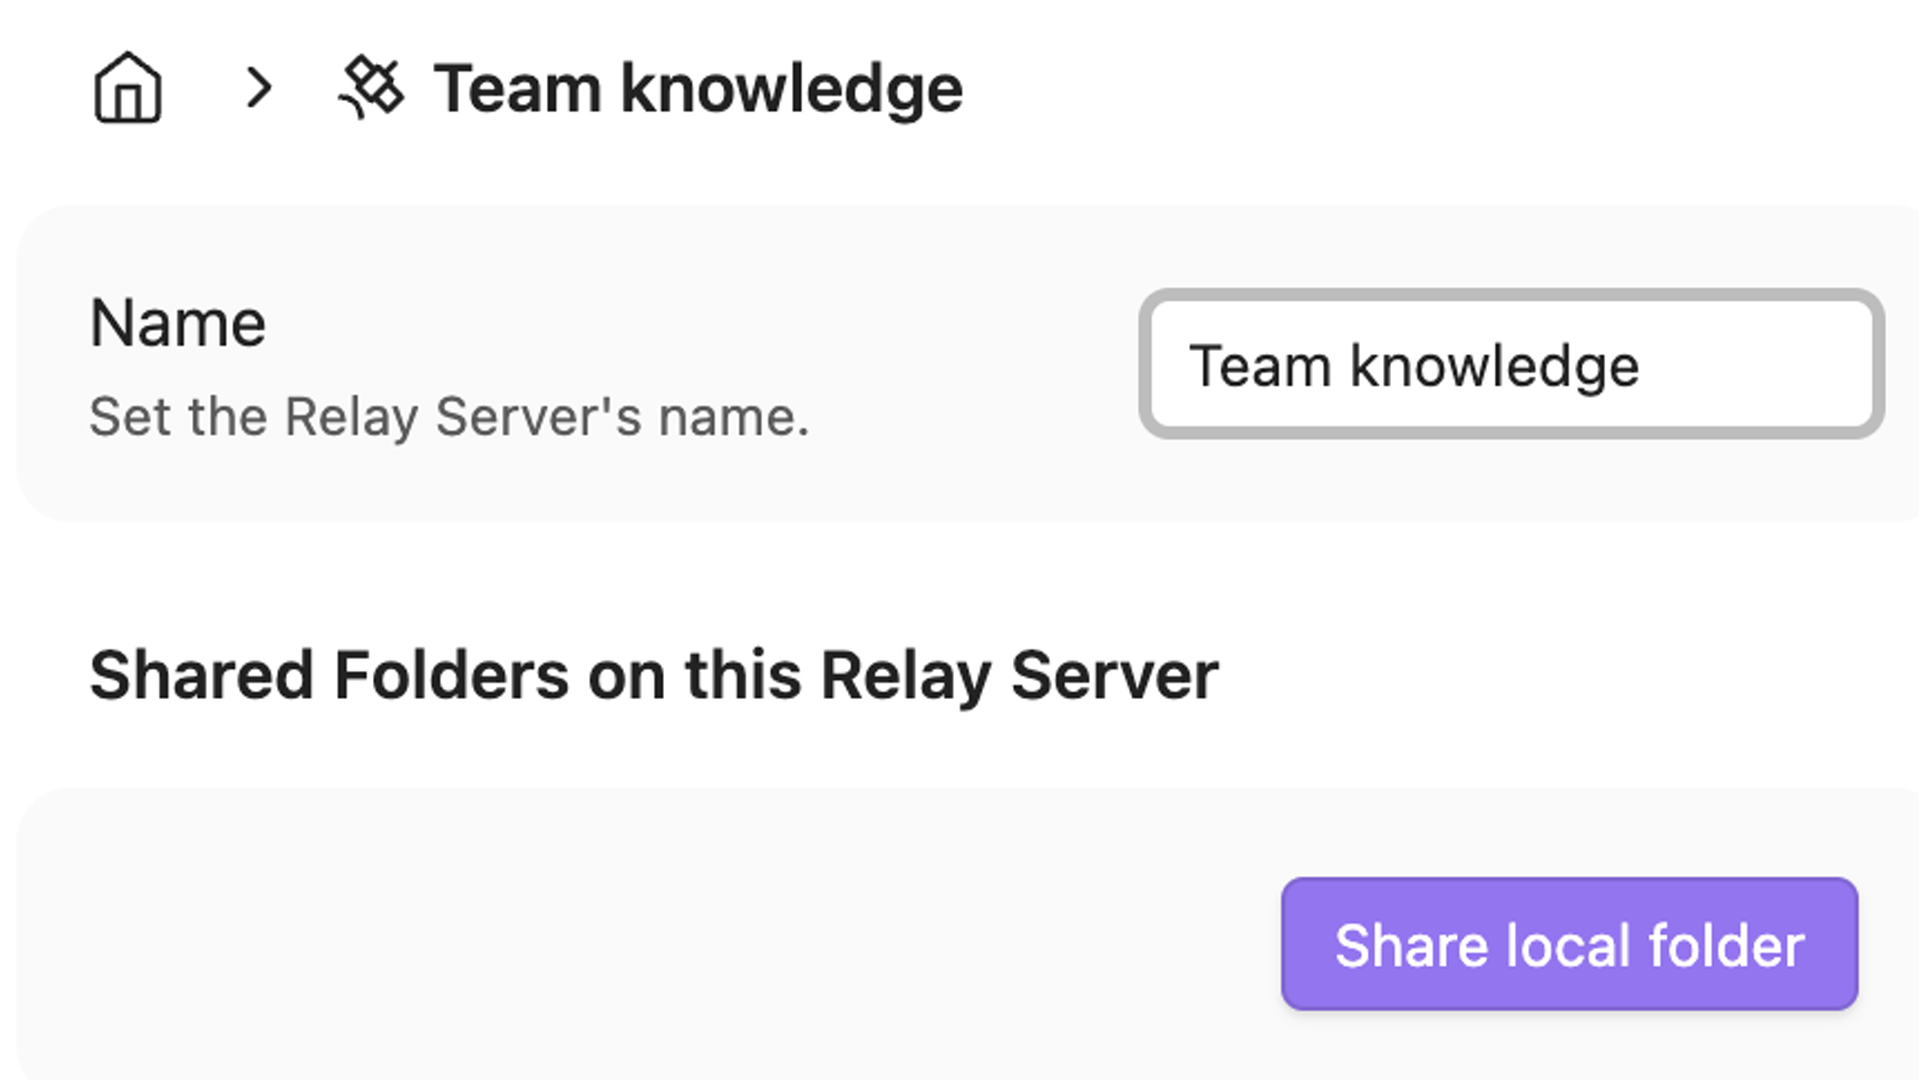
- In Relay settings, under Relay Servers, click Create. Relay opens the settings for an (Untitled Relay Server).
- In Name, enter a name you and your collaborators can recognize, such as
Team knowledge. Relay saves the name automatically.
You can have up to 25 Relay Servers per account. If you need more, contact us.