Install Relay for Obsidian
On this page
Relay adds real-time collaboration to your Obsidian vault. Install the plugin from Obsidian’s community directory, enable it, and sign in to your Relay account.
After signing in, join the server you were invited to or share a folder on your own server.
Before you start
Install Obsidian and open the vault where you want to use Relay.
The community directory provides the stable release. To test a prerelease, follow Install Relay beta instead.
Install the plugin
- In Obsidian, open Settings → Community plugins.
- If Restricted mode is on, select Turn on community plugins.
- Select Browse, then search for
Relay. - Select Relay by Relay.md, then select Install.
- When installation finishes, select Enable.
- In the Settings sidebar, select Relay. For other ways to reach it, see Open Relay settings.
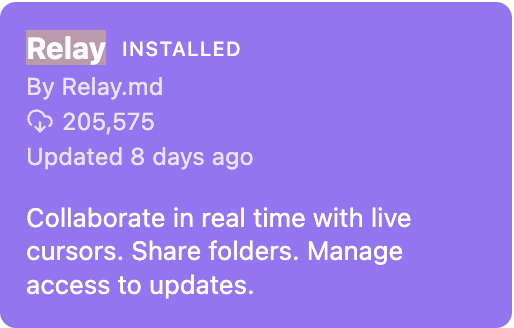
For help with Obsidian’s plugin controls, see Community plugins.
Sign in to Relay
- In Relay settings, select a sign-in provider.
- Follow the provider’s sign-in prompts.
- Return to Relay settings in Obsidian and check that your account appears under Account.

Continue setup
If you were invited: Have your Share Key ready, then follow Join from an invitation to join the server and add its Shared Folder to your vault.
If you’re starting fresh: Relay creates a Relay Server for you when you sign up. Share a folder on that server.
To host Relay on your own infrastructure, see Choose how to host Relay.